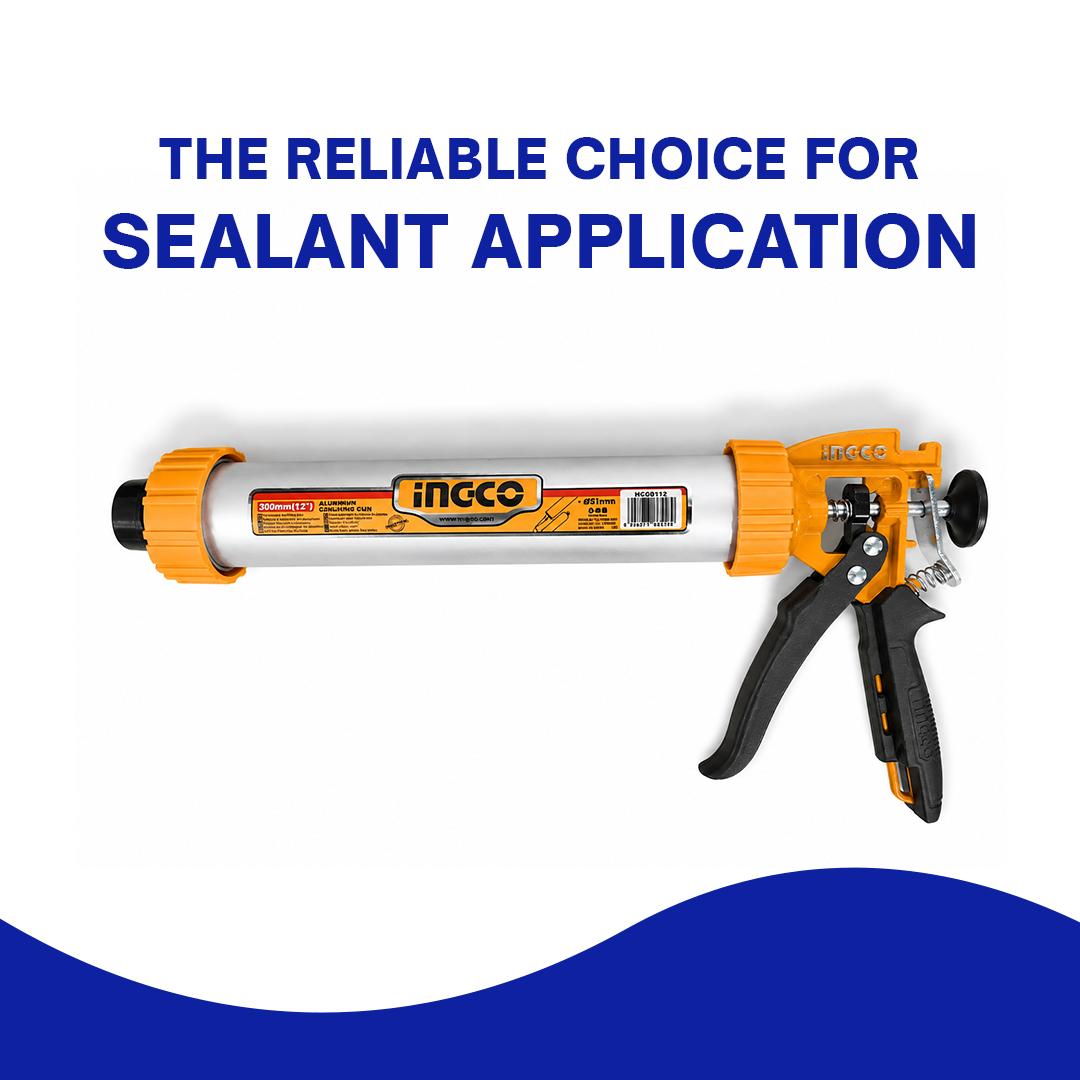
The durable and efficient dispensing tool engineered for professional and DIY sealing applications. Built with a sturdy long-barrel design, it allows easy handling and controlled flow of caulking compounds, sealants, adhesives, and fillers, even in hard-to-reach areas.
Its ergonomic grip and smooth trigger mechanism reduce hand fatigue during extended use while ensuring consistent material application with minimal waste. The robust metal construction offers long-lasting durability and reliable performance for construction sites, workshops, maintenance tasks, and home improvement projects.
Ideal for use with silicone sealants, acrylic fillers, polyurethane adhesives, and other cartridge-based compounds, this caulking gun delivers precision and clean finishing on every job.
Key Features
- Heavy-duty long barrel construction
- Smooth and controlled dispensing action
- Ergonomic handle for comfortable grip
- Suitable for professional and DIY use
- Compatible with various sealants and adhesives
- Durable, rust-resistant body for long service life
Applications
- Window and door sealing
- Construction and renovation work
- Woodworking and furniture assembly
- Industrial maintenance
- Bathroom and kitchen sealing
- Glass and aluminum fitting work
Step 1: Prepare the Surface
Clean the area where the sealant or adhesive will be applied. Remove dust, grease, moisture, or old sealant for better adhesion.
Step 2: Load the Cartridge
Pull back the plunger rod and insert the sealant or adhesive cartridge into the barrel of the caulking gun.
Step 3: Cut the Nozzle
Cut the cartridge nozzle at a 45-degree angle according to the desired bead size.
Step 4: Puncture the Seal
Use the built-in seal puncture tool or a sharp object to open the inner seal of the cartridge.
Step 5: Start Applying
Hold the caulking gun at a steady angle and gently squeeze the trigger to apply the material evenly along the surface.
Step 6: Maintain Smooth Movement
Move the gun steadily while applying pressure to create a clean and consistent seal line.
Step 7: Release Pressure
After application, release the trigger and press the pressure release mechanism to stop excess material flow.
Step 8: Finish the Seal
Smooth the applied sealant using a finishing tool, putty knife, or wet finger for a neat finish.
Step 9: Clean the Gun
Remove the cartridge and wipe away any leftover material from the barrel and nozzle area before storage.
Step 10: Store Properly
Store the caulking gun in a dry and clean place to maintain its durability and performance.